Getting started with AgX
Assumes AgX is installed — see Install.
In ten minutes, you'll edit your first photo two ways: by applying a preset (one command, full look) and by tweaking inline parameters (the slider model underneath). Both produce a real PNG on disk.
This tutorial uses a sample image and preset bundled in the AgX repository. If you cloned the repo, run the commands from its root. If you installed via cargo install agx-cli only, download the example/ directory or swap the paths for your own image and preset.
Apply a preset
Run:
agx apply \
  -i example/images/cinque_terre_window.jpg \
  -p example/presets/golden-hour.toml \
  -o golden-hour.png
AgX decodes the source, renders it through every adjustment in the preset (tone, white balance, HSL, optional LUT — see the preset model), and writes a new PNG.

Open golden-hour.png in your image viewer. The result should be warmer, with lifted shadows and pulled-back highlights — a late-afternoon feel.
Try a different preset by swapping -p:
agx apply \
  -i example/images/cinque_terre_window.jpg \
  -p example/presets/moody-dark.toml \
  -o moody-dark.png
Each .toml file in example/presets/ is a complete editing recipe. Presets are plain text — open one in your editor to see what's inside.
Tweak the result with edit
A preset is just a saved bundle of parameters. To see the parameters themselves, use edit instead of apply:
agx edit \
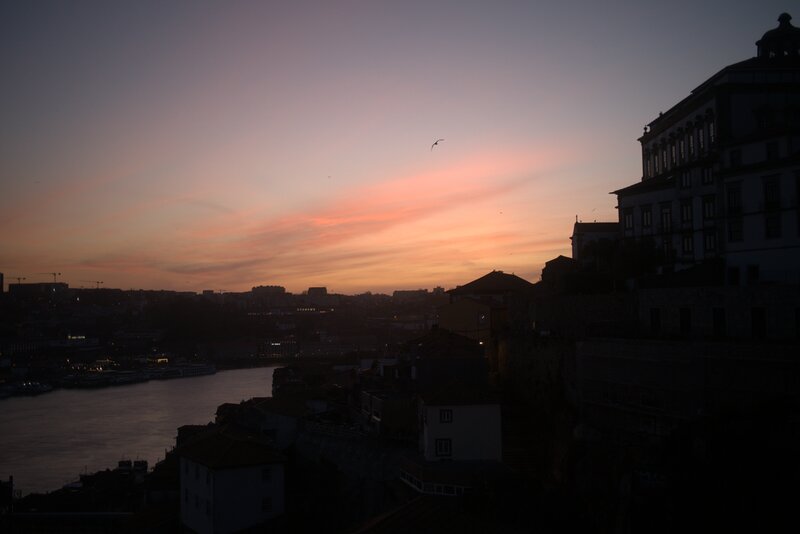
-i example/images/marina_sunset.heic \
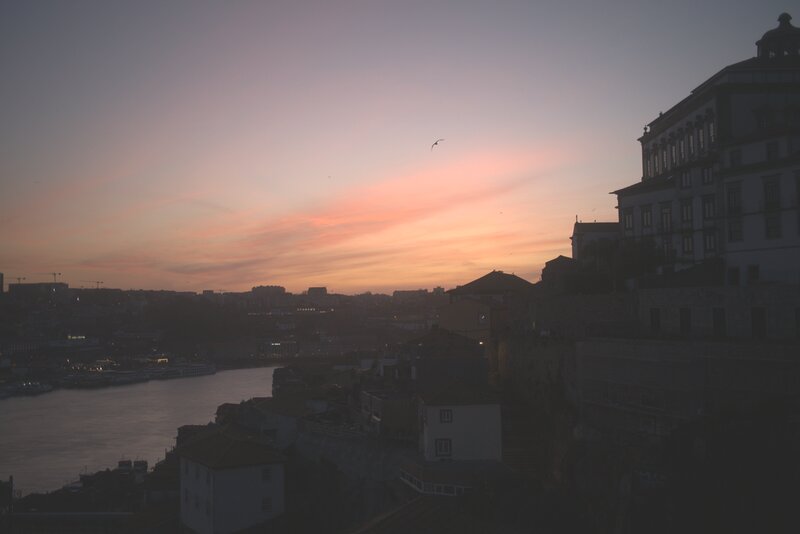
-o tweaked.png \
--exposure 0.5 \
--shadows 30 \
--highlights -20
Three flags, three basic adjustments: brighten the image by half a stop, lift the shadows, pull back the highlights. The agx edit command exposes the same internals a preset addresses; the only difference is whether the values come from a .toml file or the command line.

Try other flags. The full list lives in the CLI reference. Common ones:
--temperature(warm/cool slider — positive warmer, negative cooler)--contrastand--saturation--vignette-amount(see the vignette explanation)--grain-amount(see the grain explanation)
What's next
You've seen the two foundational AgX commands. Where to go from here:
- Apply a preset to a folder of photos — run
batch-applyover a directory. - Compare looks side-by-side —
multi-applyfor preset audition. - Write your own preset — author a TOML preset from scratch.
- Compose layered looks — stack presets at apply time.
- CLI reference — every subcommand and flag, generated from the source.
- Preset format reference — every field, type, and default.
- Algorithm explanations — how each adjustment works under the hood.